
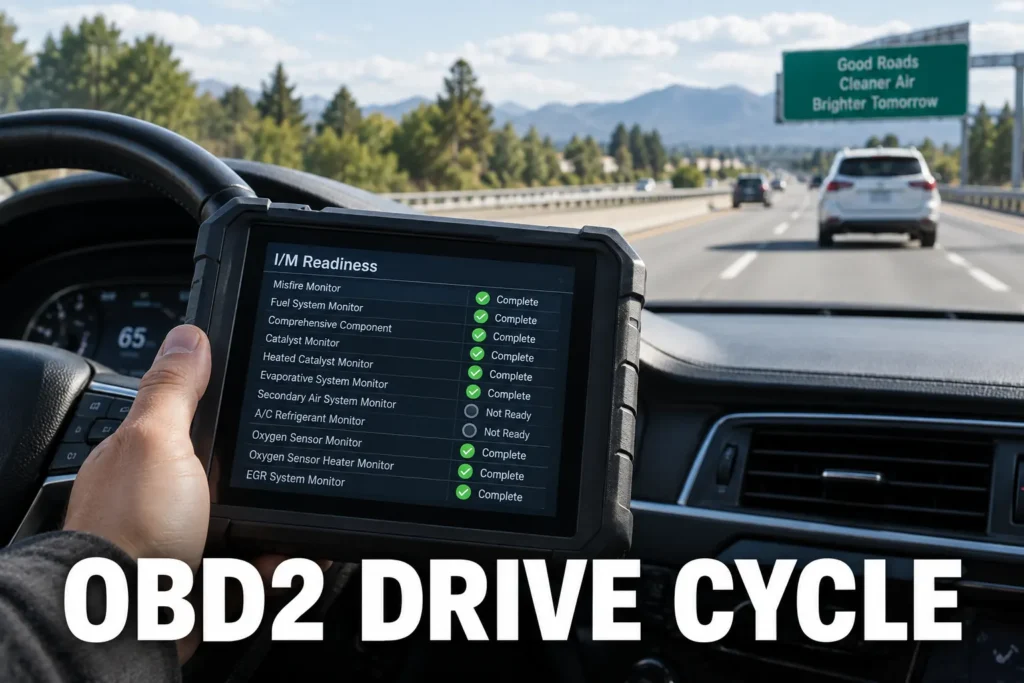
Every guide about completing readiness monitors after a battery disconnect or code clear tells you to do a “drive cycle.” Most stop there, as if the phrase explains itself. The result is that drivers follow generic step-by-step instructions, check their scanner afterward, find the same monitors still incomplete, and repeat the same procedure again. Understanding what a drive cycle actually does, and why each phase of it triggers specific monitors, changes how you approach the problem and shortens the time it takes to get to a passing inspection.
My obd2 electric vehicles ev diagnostics covers this step by step.
My how to verify repair fixed obd2 covers this step by step.
My battery disconnect obd2 codes monitors covers this step by step.
My obd2 scanner different codes than mechanic covers this step by step.
My wired vs bluetooth obd2 scanner covers this step by step.
My obd2 diagnostic link connector dlc explained covers this step by step.
My a j2534 pass thru device explained covers this step by step.
My my guide on bleed abs brakes covers this step by step.
My my guide on reset check engine light without a scanner covers this step by step.

About the author: Hello! I’m Kamil Siegień, founder of OBD2 Scout. My diagnostic experience started with an engine rebuild on a 2014 Skoda Superb 1.8 TSI, where tuning from 160 to 222 hp required mastering live data and ECU behavior that basic code readers cannot handle. I am a former BMW and MINI employee and regularly use diagnostic scanners on my own Audi A4 2.0 TFSI.
This guide covers what an OBD2 drive cycle is, what triggers the need for one, what the ECU is actually doing during each phase, and why some monitors refuse to complete even after multiple correct attempts.
What an OBD2 Drive Cycle Is
An OBD2 drive cycle is a controlled driving procedure designed to allow the ECU to run its non-continuous emissions monitors under the specific conditions each monitor requires to execute its self-test. The OBD2 standard specifies which systems must be monitored, but each manufacturer programs the exact enabling conditions into their ECU. The result is that there is no single universal drive cycle that works identically across all vehicles. My guide on how to use an OBD2 scanner to confirm monitor completion covers how to check which monitors are still incomplete after a drive cycle attempt, how to read the readiness status correctly, and how to confirm the ECU registered the completed monitors before the inspection.
Two types of drive cycles exist. Modal cycles involve sustained driving at constant speeds. Transient cycles involve varying speed, load, and conditions in a sequence that reflects real-world driving. Transient cycles are what generic drive cycle guides approximate, and they work for most vehicles most of the time. For vehicles with stubborn monitors, a manufacturer-specific cycle is more effective because it matches the exact sequence the ECU was programmed to accept. Equinox owners completing the GM drive cycle can find compatible scanner options in my Chevy Equinox scanner guide.
What Triggers the Need for a Drive Cycle
Three events reset all OBD2 readiness monitors simultaneously and require a drive cycle to restore them.
Disconnecting or replacing the battery erases the ECU’s keep-alive memory, where monitor completion status is stored. Every monitor resets to incomplete. This happens even when the battery is disconnected briefly for unrelated maintenance.
My guide on whether you can drive with the check engine light on covers the code types where normal driving completes the required monitors and the code types where it does not.
Clearing trouble codes with a scanner wipes stored codes, pending codes, freeze frame data, and all monitor completion status in one action. Drivers who clear codes hoping to pass an emissions test create this problem: the check engine light goes off, but the monitors reset and the vehicle fails the inspection on incomplete monitor status instead. My guide on how clearing OBD2 codes works covers the full list of what gets deleted when you press clear, including the readiness monitor reset that puts the vehicle through this entire sequence.
Battery drain to zero has the same effect as a disconnect. If the battery fully discharged and the vehicle was jumped or the battery was replaced, the monitors are at zero regardless of whether anyone intentionally cleared them. My guide to the OBD2 emissions pre-check sequence covers the three criteria the inspector reads and why running that check at home before the appointment removes most of the uncertainty.
What “a Trip” Means to the ECU
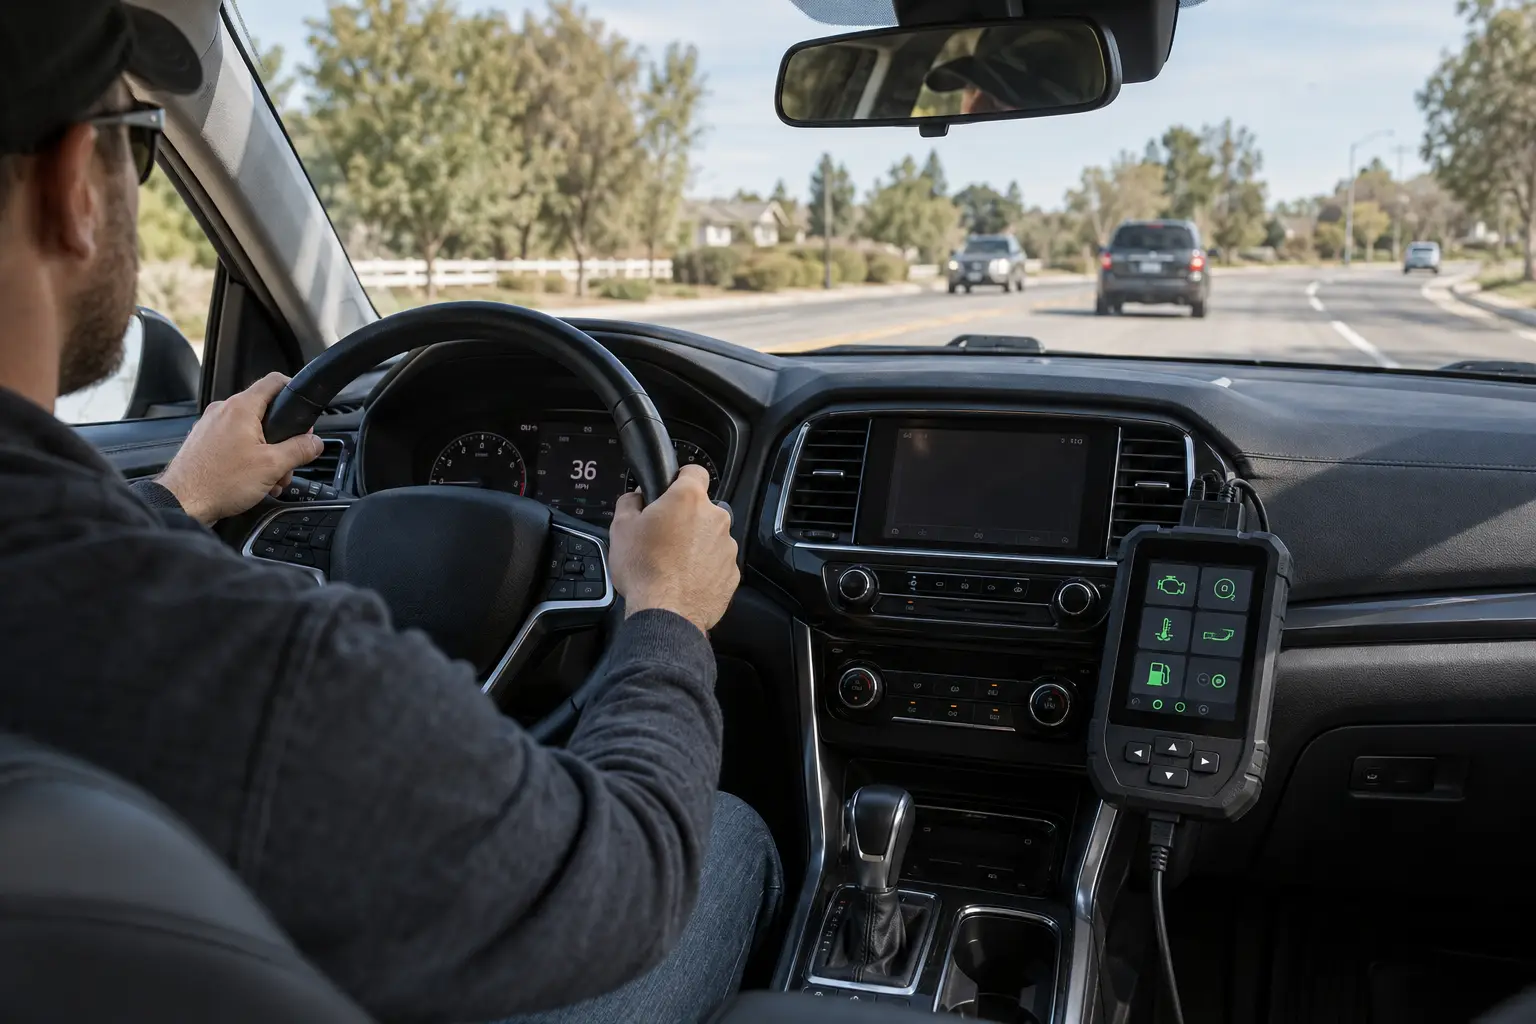
Most drive cycle guides use the word “trip” interchangeably with “drive.” The ECU does not. In OBD2 terms, a trip is a driving event during which a specific monitor runs all of its enabling conditions and the self-test completes. A monitor requires one or two qualified trips to show complete. If a drive does not meet the enabling conditions for a specific monitor, the ECU does not count that drive as a trip for that monitor at all.
This is why ten short city commutes can leave certain monitors incomplete while completing others. A five-minute warm start into stop-and-go traffic never reaches the speed, load, and temperature conditions the catalyst efficiency monitor needs. The misfire and fuel system monitors may complete on that same drive because they run continuously. The catalyst monitor gets zero credit.
On some vehicles, particularly older GM models, the dashboard shows ‘Service Engine Soon’ rather than ‘Check Engine’ throughout this process; my guide to service engine soon vs check engine on older GM and BMW vehicles covers which models used that label and confirms the drive cycle requirements are the same regardless of name.
Identifying which specific monitors are incomplete before driving is the correct starting point. Different monitors have different enabling conditions, and knowing which ones are pending tells you which phases of the drive cycle to focus on rather than repeating the entire sequence every time. My guide to OBD2 readiness monitors covers what each monitor tracks, the enabling conditions that vary by monitor type, and how to identify which one is blocking completion so you can target the right drive conditions.
The Cold Start Condition Explained
The eight-hour overnight soak before a drive cycle is not a general suggestion. It satisfies a specific enabling condition built into the OBD2 standard. The ECU requires engine coolant temperature at startup to be below approximately 86 degrees Fahrenheit and within 11 degrees of ambient air temperature. This is the definition of a cold start in OBD2 terms.
Understanding this requirement is key to knowing how long the check engine light will take to turn off after a repair; my guide to the check engine light reset timeline covers why the cold start requirement often makes the self-clear process take longer than drivers expect.
A car parked for 30 minutes on a warm afternoon does not meet this condition. The engine block retains heat for hours. Only an overnight soak fully equilibrates the engine to ambient temperature and satisfies the cold start requirement. The O2 sensor heater monitor, the heated catalyst monitor on vehicles that have one, and several EVAP conditions all require a genuine cold start to run. Attempting a drive cycle from a warm engine skips these monitors entirely.
Some guides instruct drivers to turn on the headlights, heater, and rear defroster during the cold start idle phase. This has a diagnostic purpose beyond passenger comfort. The increased electrical load on the alternator is part of the Comprehensive Component Monitor’s alternator output check. Turning accessories on during the idle phase satisfies an enabling condition for that monitor, not a random suggestion to fill two minutes.
My obd2 mode 06 explained monitor test results covers this step by step.
Generic OBD2 Drive Cycle: Step by Step
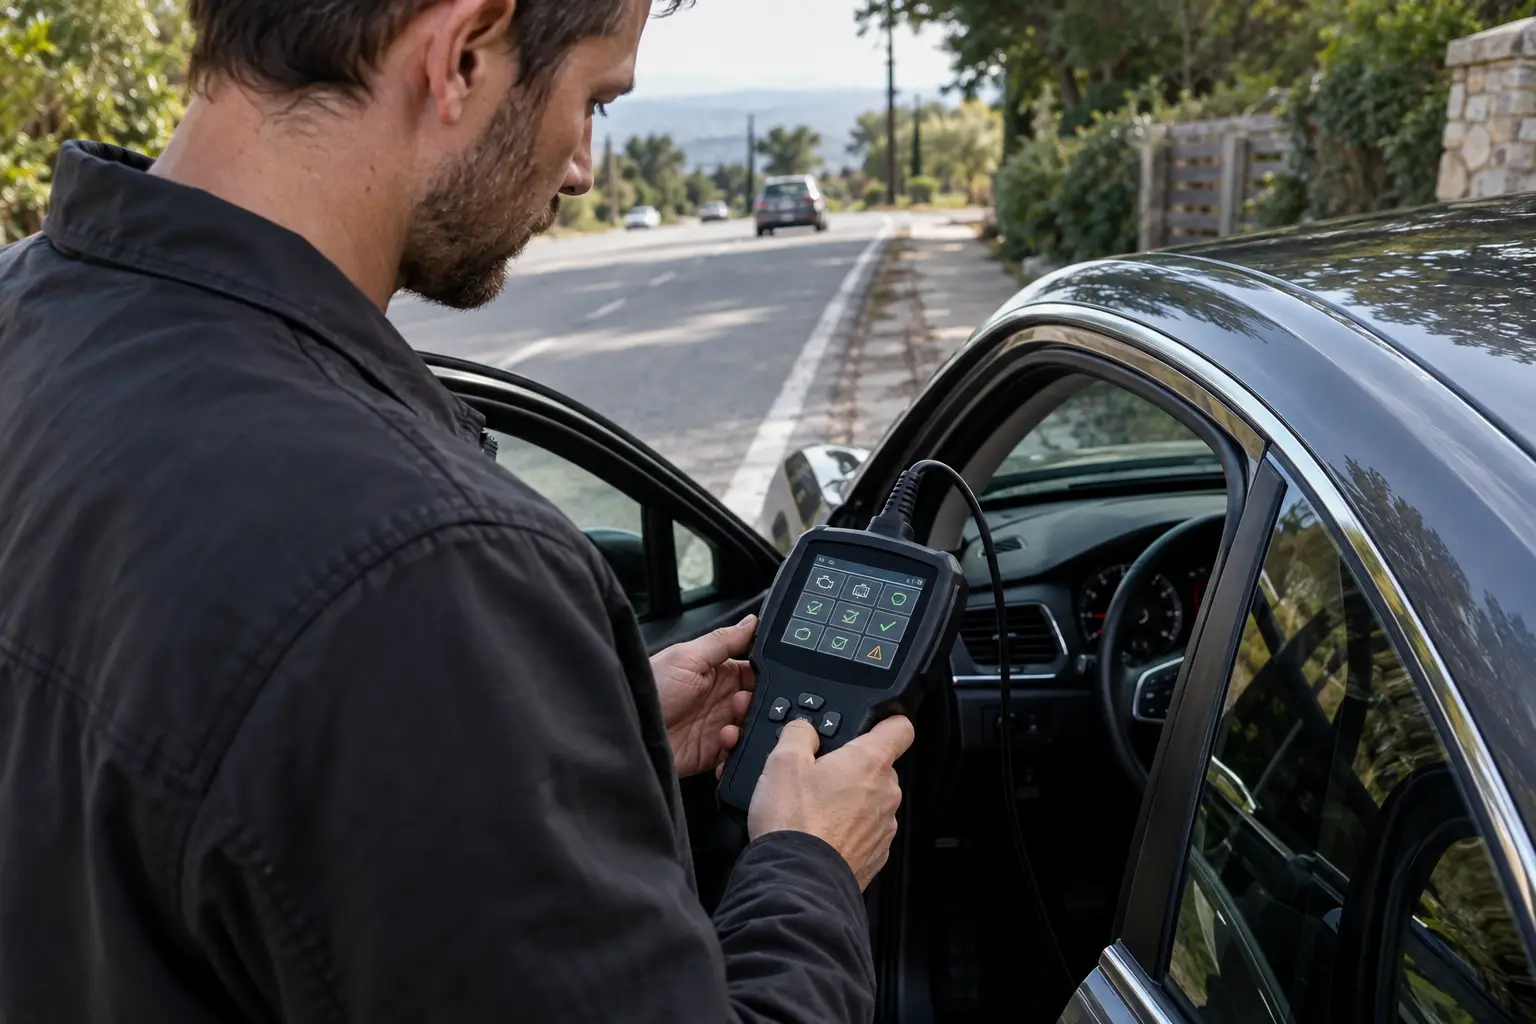
The following sequence covers the enabling conditions for most non-continuous monitors on most gasoline OBD2 vehicles. Check monitor status on a scanner after each phase if possible to confirm which ones complete during the drive. My roundup of affordable OBD2 scanners with readiness monitoring covers the models that display I/M readiness status clearly enough to read while driving, so you can confirm which monitors complete during each phase.
Phase 1: Overnight cold soak. Park the vehicle for at least eight hours with the engine off. Fuel level should be between 25 and 75 percent. This satisfies the cold start temperature requirement and the EVAP fuel level condition simultaneously.
Phase 2: Cold start and idle. Start the engine without pressing the accelerator. Turn on the headlights, climate control, and rear defroster. Idle for two to three minutes. The O2 sensor heater monitor and Comprehensive Component Monitor begin running. Do not rev the engine or drive yet.
Phase 3: Gradual city acceleration. Drive at 20 to 45 mph with moderate acceleration and two to four complete stops, including at least one idle period of 30 seconds or more. The fuel system monitor and misfire monitor run during this phase. The EVAP purge monitor also begins activating as engine temperature rises.
Phase 4: Highway acceleration and cruise. Accelerate smoothly to 55 to 60 mph and hold that speed steadily for at least five minutes, ideally ten. Avoid sudden throttle changes. This phase is where the catalyst efficiency monitor runs, comparing upstream and downstream O2 sensor activity under stable load. The O2 sensor switching monitor also runs during this sustained cruise.
My my guide on test o2 sensor covers this step by step.
Phase 5: Natural coast-down. Lift off the throttle and allow the vehicle to decelerate without applying the brakes, from 55 mph down to 20 to 25 mph. Do not brake. The fuel-cut state during this deceleration enables the catalyst monitor’s downstream comparison and contributes to EVAP conditions. This phase is brief but specific: braking short-circuits it.
Phase 6: Return city driving. Drive at 20 to 30 mph with two to four stops over ten to fifteen minutes. The EVAP monitor may attempt to run during this phase if fuel level and temperature conditions are met. Remaining non-continuous monitors that have not yet completed get additional opportunities here. My Innova 3100RS hands-on review covers whether the I/M readiness screen updates in real time during a drive and where this tool sits on the capability spectrum for drive cycle work.
Phase 7: Final idle. Idle for one to two minutes before shutting the engine off. Check monitor status before turning the key. My detailed review of the Foxwell NT630 Plus covers a mid-range scanner where I/M readiness is paired with live data and freeze frame access, for drivers who want to monitor more than just the pass/fail indicator during the drive.
Why Generic Cycles Do Not Always Work
The generic drive cycle approximates the enabling conditions for most monitors on most vehicles. It fails for some vehicles because each manufacturer programs specific thresholds into their ECU: exact speed requirements, temperature windows, load percentages, and sequence orders that the generic cycle does not replicate precisely.
The catalyst monitor on certain vehicles requires a speed hold at a specific rpm range followed by a deceleration at a specific rate. If the generic cruise phase is done at a slightly different speed or the coast-down is too short, the monitor enabling conditions are never met and the monitor does not run, even though the drive looks correct from the outside.
For monitors that remain incomplete after two or three correct generic drive cycles, the manufacturer-specific drive cycle is the next step. Most manufacturers document these in their service manuals. Some publish them on owner portals or through their dealer network. The manufacturer-specific cycle tells the ECU exactly what it was programmed to expect, which is the most direct path to completing a stubborn monitor.
My what are enhanced obd2 codes covers this step by step.
How to Know the Drive Cycle Worked
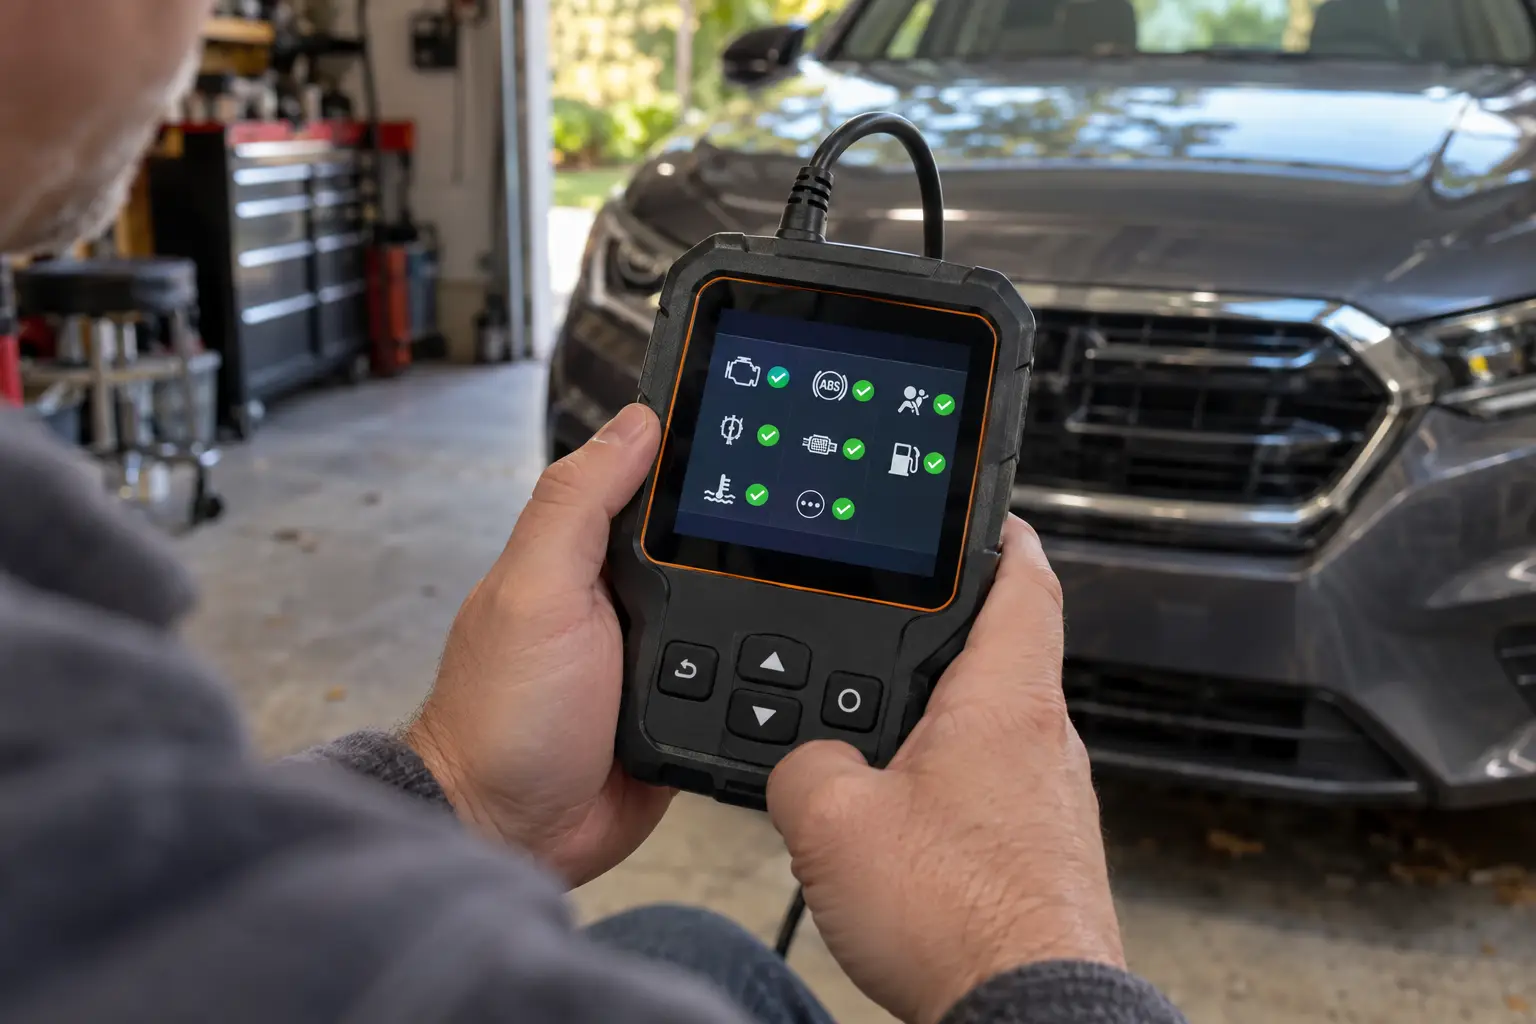
Checking the I/M Readiness or Monitor Status screen on a scanner shows whether each monitor is marked complete. This is the standard verification method and works for confirming the drive cycle was effective. My guide on OBD2 live data covers the parameters that complement the I/M readiness screen during and after a drive cycle, including the oxygen sensor switching and fuel trim values that signal whether monitor enabling conditions are being met.
The more precise verification tool is Mode 6 data. Mode 6, also called OBD Monitoring Test Results, shows the actual measured value from each monitor’s last test run alongside the pass/fail threshold the ECU applies. A monitor that completed with a measured value barely inside the pass threshold technically passed, but the margin tells you the underlying system is functioning near its limit. A catalyst monitor that reads 0.82 on a 0.80 threshold passed, but the same catalyst may fail next cycle. Mode 6 data turns a binary pass/fail result into a diagnostic signal. My guide on OBD2 freeze frame data covers Mode 6 test results alongside standard freeze frame snapshots and how the measured values from each monitor’s last run reveal whether the system is healthy or marginal.
Using a scanner during the drive, with a passenger reading the monitor status screen, gives real-time confirmation as each monitor completes. Once all monitors show complete, the drive cycle is done regardless of how far into the procedure you are. Continuing past that point adds no benefit.
When Monitors Still Won’t Complete After Multiple Cycles
This is the most useful information for drivers who are stuck, and it is absent from every generic drive cycle guide. If correct drive cycles have been performed multiple times and a specific monitor remains incomplete, the drive cycle is not the problem. The ECU is running the monitor, but the system is failing the test. A fault code is the likely next outcome once the monitor runs under full enabling conditions. My guide on OBD2 pending and permanent codes covers what happens when a monitor runs and confirms a previously pending fault, and why a pending code with no active light can change status mid-drive.
A catalyst monitor that refuses to complete despite multiple correct cycles on a vehicle with no stored codes usually means the catalyst is borderline degraded. The monitor enabling conditions are partially met but the comparison between upstream and downstream O2 activity is not passing the efficiency threshold. The monitor shows incomplete because failing it would set a code, and the ECU is either not fully meeting the enabling conditions or is detecting a marginal pass that does not yet cross into code territory.
Once the efficiency threshold is finally crossed and the code confirms, clearing it without replacing the catalyst guarantees the code will return; my guide on what causes a P0420 to return after clearing covers the two-trip reconfirmation cycle and the permanent code rules that apply to catalyst faults.
An O2 sensor monitor that will not complete points to a sensor response issue. An EVAP monitor that shows disabled consistently despite correct fuel level and ambient temperature points to a condition outside the allowable window, or a small leak the system cannot pressurize past.
A misfire that triggers a flashing check engine light presents a different pattern: the catalyst monitor stops running entirely because the ECU suspends it during active thermal protection mode.
The correct response to a monitor that refuses to complete is to diagnose the system associated with that monitor, not to add more drive cycles. My guide to professional-grade OBD2 diagnostic tools covers the scanners where Mode 6 access, bidirectional test capability, and manufacturer-specific drive cycle data are standard features.
The Bottom Line
An OBD2 drive cycle is the ECU’s opportunity to run the self-tests it needs in order to report a verified system status. After a reset, the right driving conditions let it complete those tests. Each phase of the drive cycle targets specific monitors by meeting their enabling conditions in sequence. When conditions are met, monitors complete and the vehicle is ready for inspection. My guide to multi-system OBD2 scanner options covers the models that combine I/M readiness with full system access, so a single tool handles both the drive cycle verification and any fault codes that surface during it.
When monitors refuse to complete despite correct driving, a fault is present in that system. That distinction separates a situation where more driving helps from one where more driving wastes time and the real fix is a diagnostic on the affected system. My detailed review of the Autel MaxiSYS Elite II Pro covers the professional end of drive cycle verification, where Mode 6 data, manufacturer-specific test sequences, and bidirectional access are available in a single tool.
FAQs
How long does an OBD2 drive cycle take?
The actual driving portion of a generic drive cycle takes 20 to 30 minutes. The eight-hour cold soak beforehand adds the bulk of the total time. If the vehicle is already cold from sitting overnight, the driving portion can be completed the following morning as a slightly extended commute. For the EVAP monitor specifically, the eight-hour soak is not optional and cannot be shortened by any driving technique. Factor the overnight soak into the plan rather than treating the drive as the only time commitment.
Do I need to clear codes before doing a drive cycle?
No. Clearing codes before a drive cycle resets all monitors back to incomplete, which is the opposite of what you are trying to accomplish. The only time clearing codes is appropriate before a drive cycle is if there is an active fault code that is blocking a monitor from running. In that case, the fault needs to be repaired first, the code cleared after the repair, and then the drive cycle run to verify the fix. Clearing codes without repairing the fault means the code returns on the next monitoring cycle and the monitors reset again.
Why are my monitors still not ready after multiple drive cycles?
If monitors remain incomplete after two or three correct drive cycles, the drive cycle is not the issue. The ECU is running the monitor but the system is failing the self-test. This is the signal that a genuine fault exists in the system associated with that monitor, even if no code has confirmed yet. A stubborn catalyst monitor points to a degraded converter. A stubborn O2 monitor points to a slow or failing sensor. Continuing to drive without a code setting means the enabling conditions are not being fully met, in which case the manufacturer-specific drive cycle for that monitor is the correct next step.
Can I do a drive cycle in city traffic only?
A city-only drive cycle completes some monitors but not all. The fuel system, misfire, and Comprehensive Component monitors run during city driving. The catalyst efficiency monitor and O2 sensor switching monitor require the sustained highway cruise phase at 55 to 60 mph held steady for several minutes. Without that phase, those monitors will not run regardless of how long or how many times city driving is repeated. The highway phase is not optional for completing the full set of non-continuous monitors.
Does every vehicle have the same drive cycle?
No. The OBD2 standard specifies which systems must be monitored but allows each manufacturer to define the enabling conditions. The generic drive cycle works for most vehicles because it covers the common enabling conditions at a general level. For vehicles with stubborn monitors, the manufacturer-specific drive cycle is more effective because it matches the exact sequence, speed thresholds, and temperature windows the ECU was programmed to require. Manufacturer-specific cycles are documented in service manuals and sometimes published on manufacturer owner portals.
What is Mode 6 data and does it confirm a drive cycle worked?
Mode 6, also called OBD Monitoring Test Results, shows the actual measured value from each monitor’s last completed test alongside the pass/fail threshold the ECU uses. Where the I/M Readiness screen shows only complete or incomplete, Mode 6 shows how far inside or outside the pass threshold the system measured. A monitor that passed with a result barely inside the acceptable range signals a system functioning near its limit, even though it shows complete. Mode 6 is available on most full OBD2 scanners and is the most precise way to verify that a drive cycle worked and that the underlying system is healthy, not just passing by a narrow margin.
Does the engine have to be completely cold for the drive cycle to work?
For most non-continuous monitors to run, yes. The OBD2 cold start enabling condition requires engine coolant temperature to be below approximately 86 degrees Fahrenheit and within 11 degrees of ambient air temperature at startup. An engine that has been running recently and then parked for 30 minutes typically does not meet this threshold, particularly in warm weather. The eight-hour overnight soak satisfies the condition because the engine fully equilibrates to ambient temperature. If the drive cycle is attempted from a warm engine, the monitors that require a cold start enabling condition will not run during that drive.